Do you have a friend’s or family member’s wedding coming up? Are you looking for a fun and quick way to share your love through a thoughtful gift? If so, this blog post is for you.
In this post, I will walk you through step-by-step how to wood burn a custom sign that the beautiful couple you are about to celebrate will cherish forever.
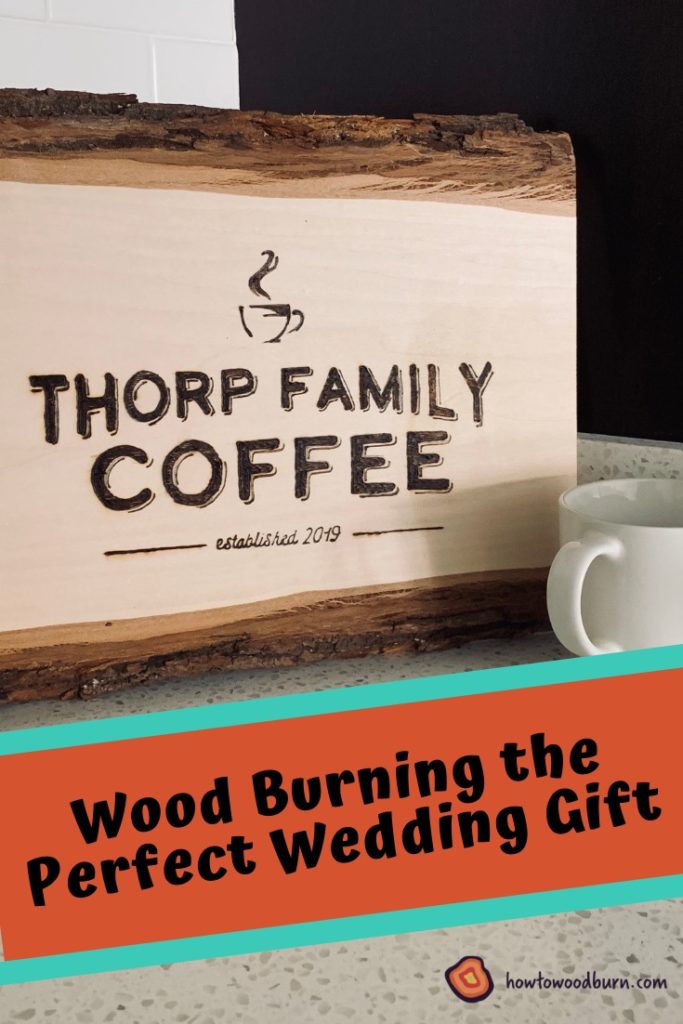
The wood burning we will walk through in this post is a sign I burned for my two friends who got married this summer. They are coffee lovers and I thought this was the perfect piece for their new kitchen. They loved it!
Support howtowoodburn.com by using the affiliate links in our articles to shop. We receive a small commission (at no extra cost to you) so we can continue to create helpful free content. Thank you, we appreciate it!
What You’ll Need to Get Started
Luckily, you do not need much to start wood burning. Before you get started, be sure to have the following close by:
- Piece of wood. For this project, I used a 9″ x 13″ piece of basswood with bark on the sides from Walnut Hollow. This piece was perfect because my friends who got married are going for the modern farmhouse vibe in their new home. If the love birds in your life are going for a different style, find a piece at Hobby Lobby or on Amazon that will work well with their preferences.
- Black and white picture of your design. Print a black and white image of the design you are going to wood burning. You will use this to transfer your picture onto the piece of wood. This will save you time by not having to draw the image free-hand and it will also allow you to begin your wood burning with something you know will look good.
- Wood burner. For this project, I used my Colwood Super Pro II wood burner. It’s an incredible wood burner, but I’d only recommend it if you frequently wood burning because it’s around $200. If you’re just starting out, I recommend using a Walnut Hollow’s Wood Burner for Beginners. It’s around $10 and is the perfect tool to use to get started.
- Hanging Supplies (optional). If you’re planning on wood burning a sign that can be hung on the wall, you will need picture handing supplies, specifically two eye screws and braided picture hanging wire. I used a picturing hanging kit that I bought at Home Depot, but I would have rather purchased this picture hanging kit on Amazon.
- Hand Drill (optional). If you are planning on creating a sign that can hang on the wall, you will need a hand drill to drill holes to screw in the eye screws on the back of the sign.
- Pencil
- Tape
- Ruler
- Scissors
Step 1: Create your Design and Print it in Black and White
Determine what you’d like to include in your sign and what you’d like it to look like. Would you like to include the couple’s names? The date or year of their wedding? What will the theme of your sign be?
My friends who got married love coffee, so I decided to make them a sign that they could hang in their kitchen. I wanted to include their family name and the year their new family was established.
To get inspiration for your design, search for “wedding signs” on Pinterest, swing by your local Hobby Lobby to check out their signs or keep an eye out for signs, fonts, and logos you like while you’re out and about. Here are a few images that I used as inspiration for the sign I made.

Once you have a general idea of what you’d like the sign to look like, use your computer’s art program, Microsoft Word, or Adobe Illustrator to create the design digitally.
For this project, I used Adobe Illustrator to create my design. (If you’re a confident artist, feel free to hand draw your design directly onto your piece of wood!)
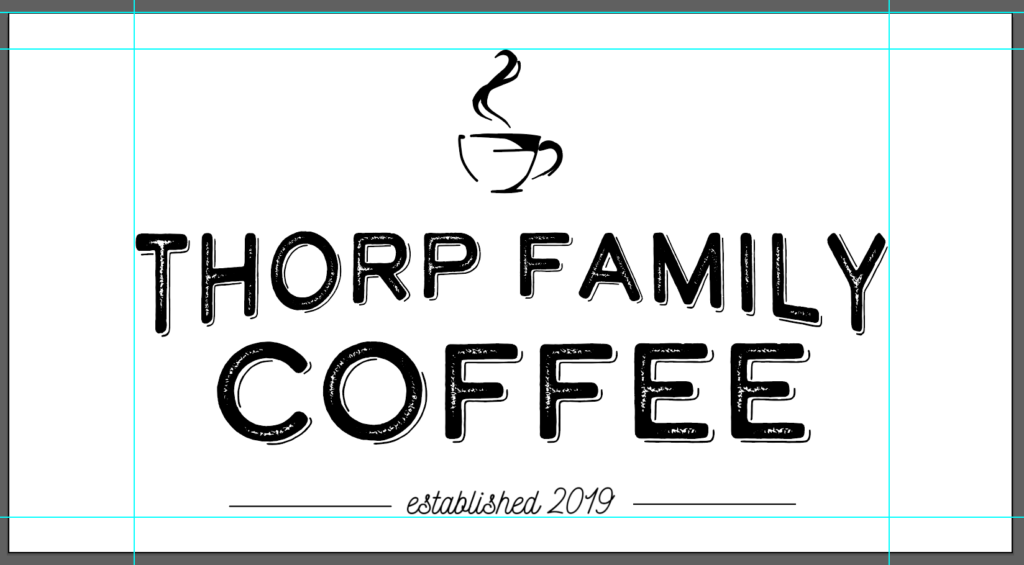
Next, you will need to print the design. Before printing, use a ruler to measure the size you’d like the design to be on your piece of wood and print it in black and white to fit this size.
Step 2: Transfer Your Design on to the Wood
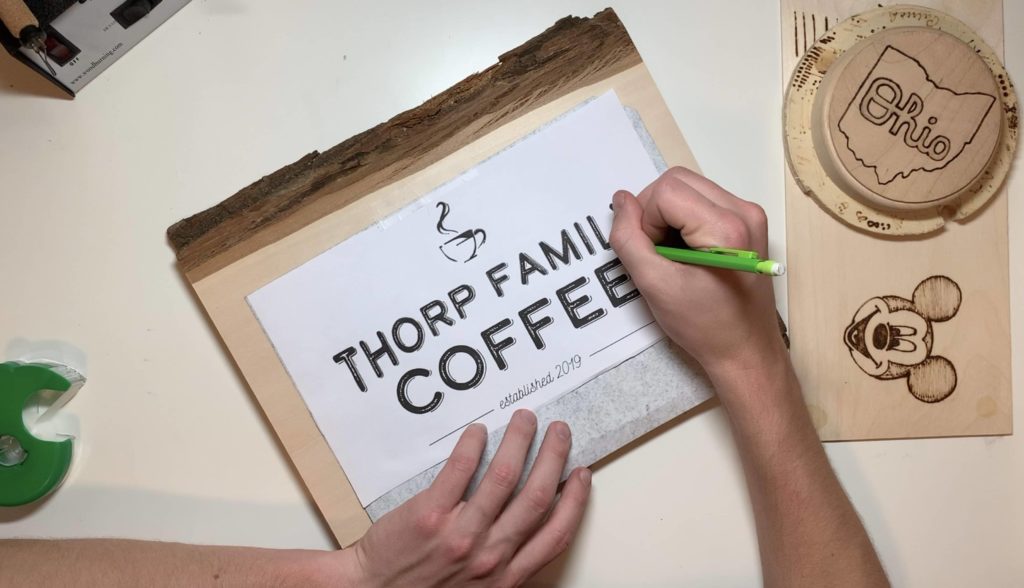
Take your printed design and place it on the piece of wood in the spot you’d like it. Once you are happy with the location of the design, tape the top of the design down to the wood. This will help the design stay in the same place while you transfer it onto the wood.
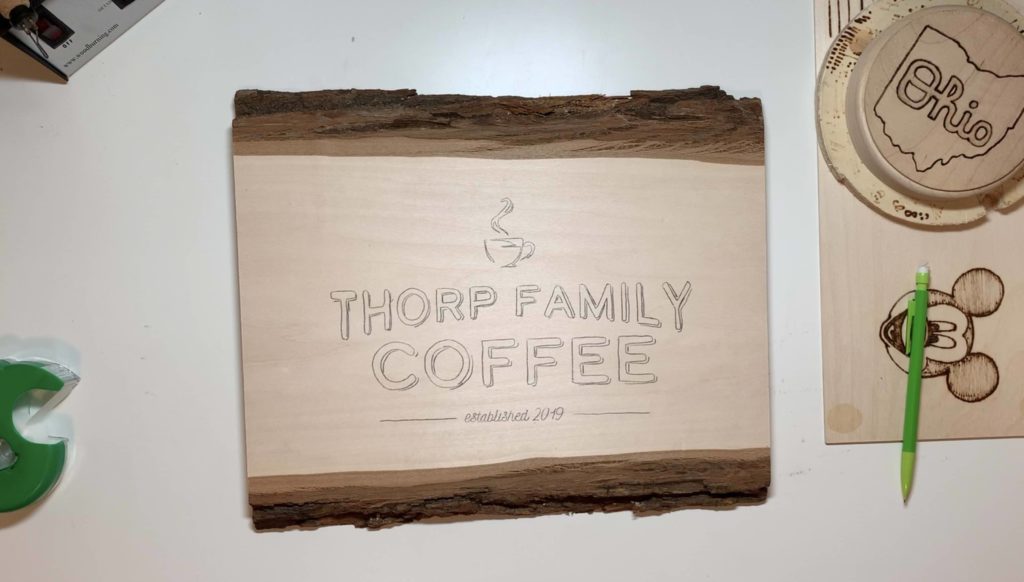
Slide a piece of graphite paper under your design and begin outlining your design with a pen or pencil. Before you finish, lift up your design to see if you’ve missed any lines. When you’re done, your design will be transferred onto the wood.
Step 3: Wood Burn Your Design
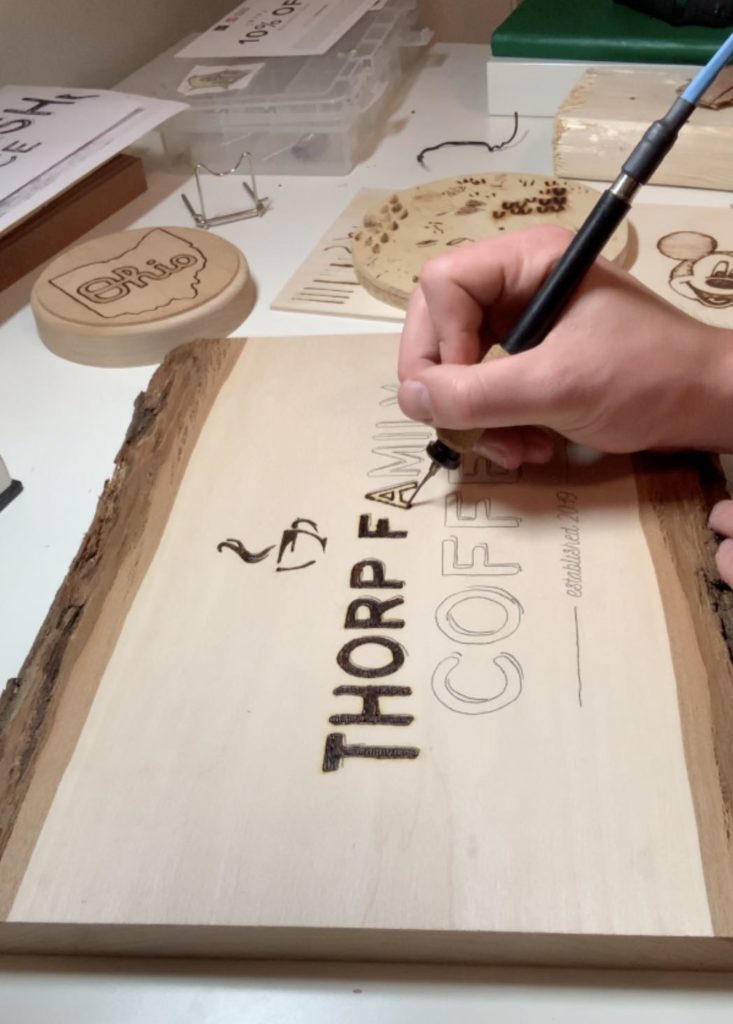
It’s time to start wood burning your sign!
Turn your wood burner on and let it heat up for a few minutes. To double-check the wood burner’s heat, make a few marks or dots on a scrap piece of wood. When your marks are consistently dark, the wood burner is hot and ready to go.
Using the hot wood burner, follow the lines you transferred onto the wood and fill in any shaded areas as you go.
When shading between lines, I really like to shade with horizontal lines. You can also experiment with squiggly lines, dots, cross-hatching, or even using your burner’s shading tip.
Rotate the wood as needed in order to make the strokes easier for you, especially as you are burning the curved lines. Wood burning with the grain is always much easier than wood burning against it. Slow and steady is the best way to go.
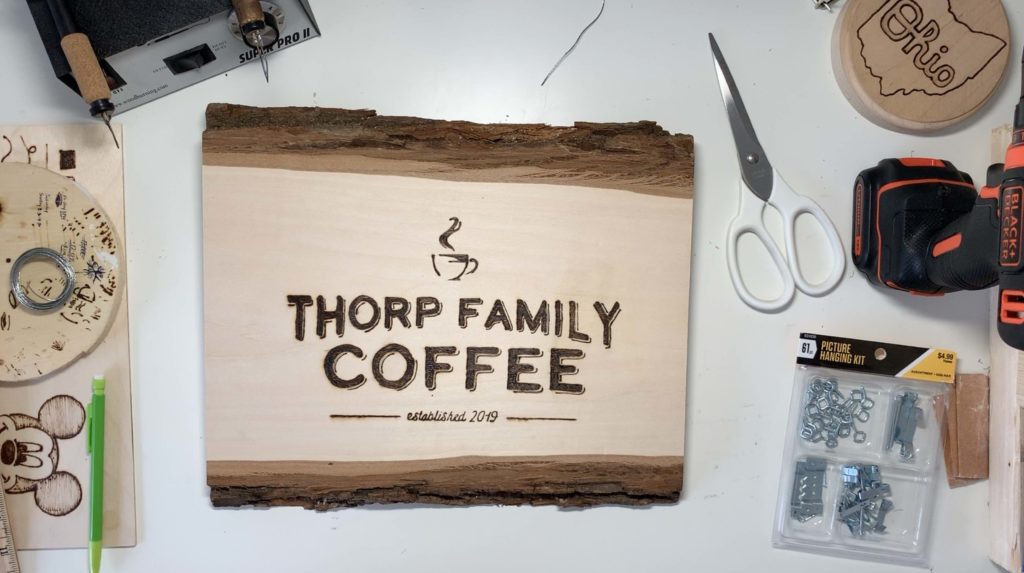
Step 4: Attach the Hanging Supplies
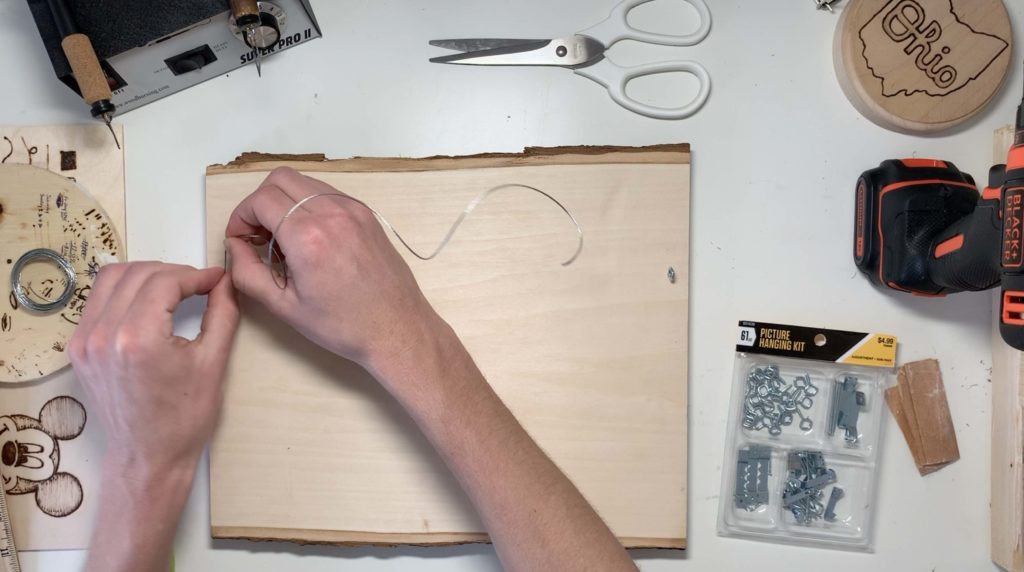
If you’d like to give your love birds the option to hang the sign, you can add two screw eyes and braided picture hanging wire to the sign’s back. You can get these materials from any picture hanging kit.
Flip your sign over and draw a straight line 2-3″ below the top of the sign. Then, make an “X” on either end of the line at a distance of 1/2″ from the sign’s edge. This is where you will put your eye screws.
Find a drill bit that is slightly smaller in diameter than the diameter of your eye screws. Drill holes where your “X”s are. Then, take your eye screws and screw them into the holes. Usually, you’ll be able to do this with your hands, but if the eye screws are hard to turn, slide a pencil into the screw’s eye hole and twist. Remember: righty tighty!
Take the end of your braided handing wire and tie it around the left-most eye screw. Stretch spool of wire out until you are 1-2″ past the right-most eye screw. Cut the wire, tie it around the eye screw, and cut off any extra wire.
You now have a sign that you can hang!
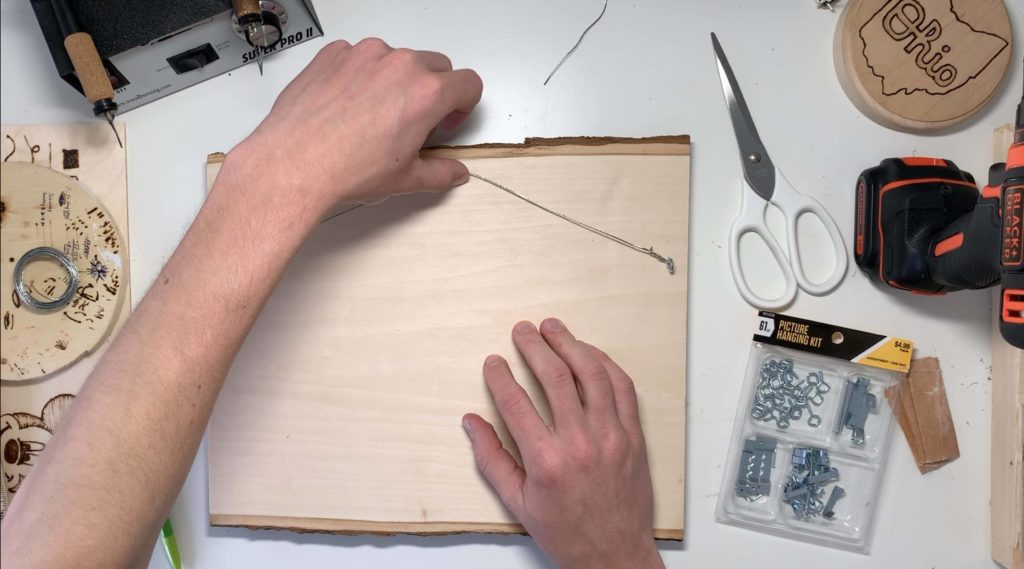
Step 5: Enjoy the Wedding and Keep Creating!
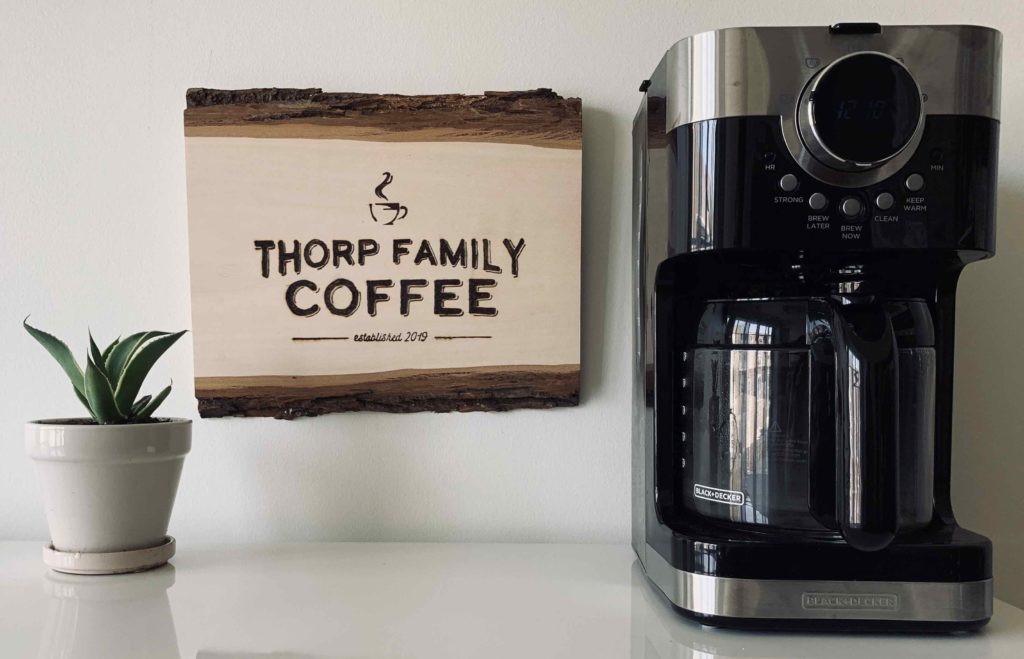
Congrats! You’ve created a thoughtful, custom, handmade wedding gift that the couple you are about to celebrate will love and cherish forever.
Don’t forget to write a message for them on the back and enjoy the wedding!
Patrick
Latest posts by Patrick (see all)
- 5 Steps to Wood Burn the Perfect Wedding Gift - July 27, 2019
- The Beginner’s Guide to Wood Burning - April 15, 2019

