
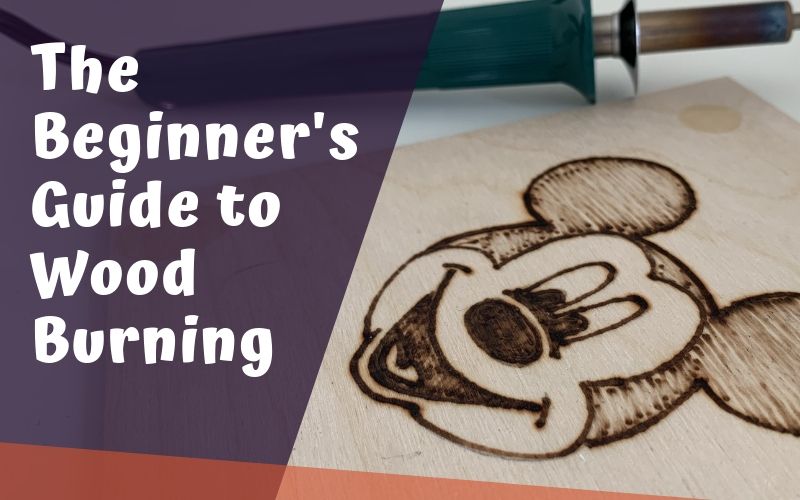
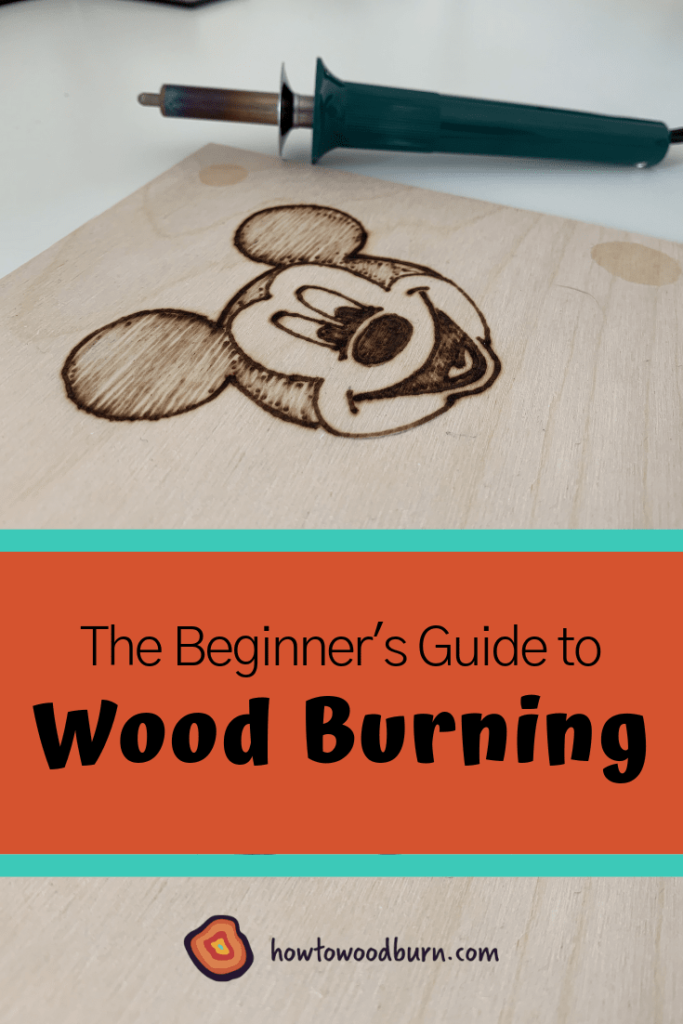
In this blog post, I’ll teach you the basics of wood burning. We will walk through the materials you’ll need to get started and the steps you’ll take to create your first wood burning. After reading this post, your opportunities for wood burning will be endless!
Support howtowoodburn.com by using the affiliate links in our articles to shop. We receive a small commission (at no extra cost to you) so we can continue to create helpful free content. Thank you, we appreciate it!
What You Will Need to Get Started
Like most crafts, having the right supplies can make a big difference. Luckily, you do not need much to start wood burning. Before you get started, be sure to have the following close by:

- Piece of wood. For this project, I used a piece of craft plywood, but feel free to use any wood that you have at home. Craft plywood, basswood, and popular are some of the best woods to wood burn on.
- Black and white picture. Print a black and white image of what you are wood burning. You will use this to transfer your picture onto the piece of wood. This will save you time by not having to draw the image free-hand and it will also allow you to begin your wood burning with something you know will look good.
- Wood burner. If you’re just starting out, I recommend using a Walnut Hollow’s Wood Burner for Beginners. This is the wood burner I use in this blog post. It’s around $10 and is the perfect tool to use to get started.
- Pencil
- Tape
- Ruler
Step 1: Print your Image
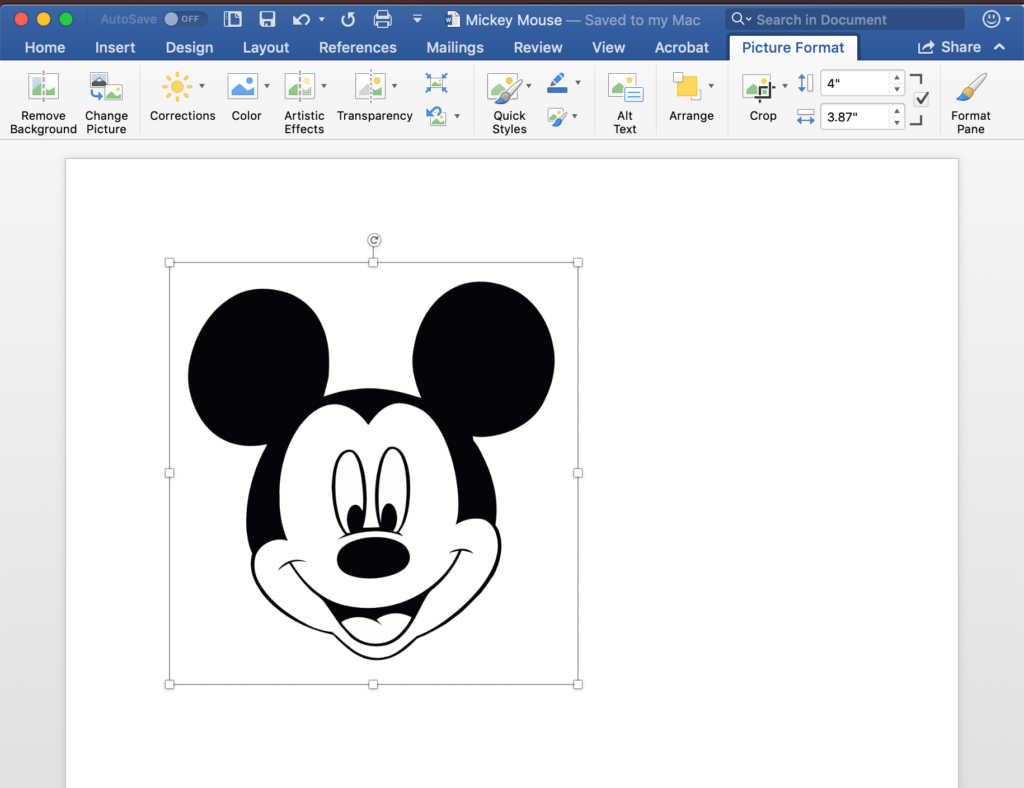
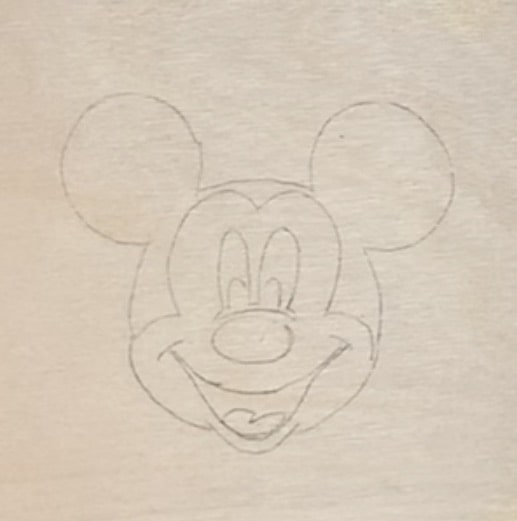
For this post, I decided to wood burn an image of Mickey Mouse because the lines and shapes of the image are clearly defined and it’s easy to print in black and white. Both of these aspects will help us when we are transferring the picture onto the wood and actually wood burning.
To get started, you’ll need to find a black and white version of the picture you’re going to wood burn. The picture of Mickey Mouse that I used can be found here. Once you download the picture, open up Microsoft Word, and paste the picture into the document. Then, with your ruler, measure your piece of wood, and change the dimensions of your image in Microsoft Word so it can fit on your piece nicely. Print the picture and cut it out.
Step 2: Fill back of your image with pencil
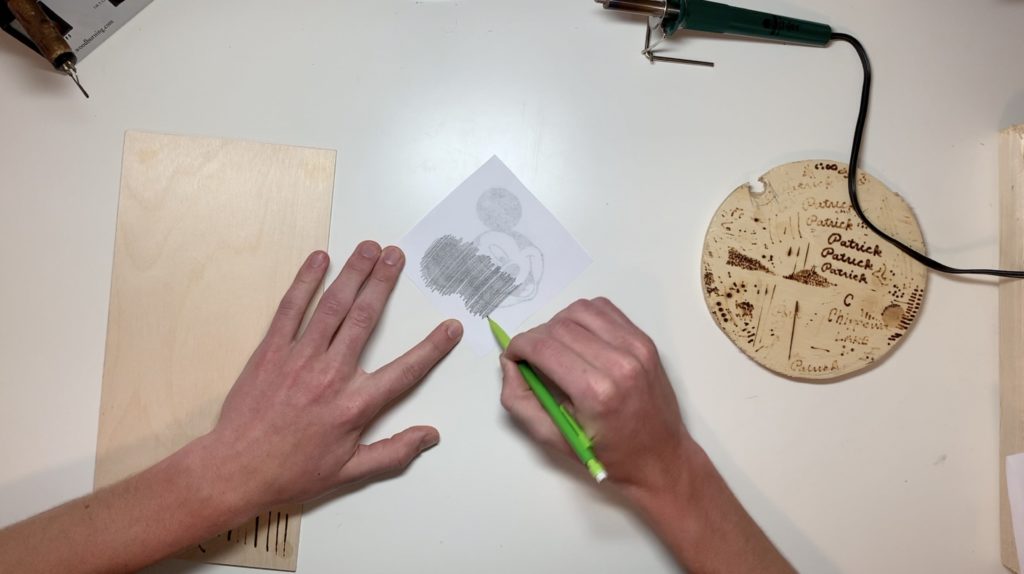
In order to transfer the image onto the wood, you can use a simple trick using our pencil. Flip the picture over and use your pencil to shade the back of the entire image. By doing this, you are essentially making homemade graphite paper.
Step 3: Transfer image onto wood
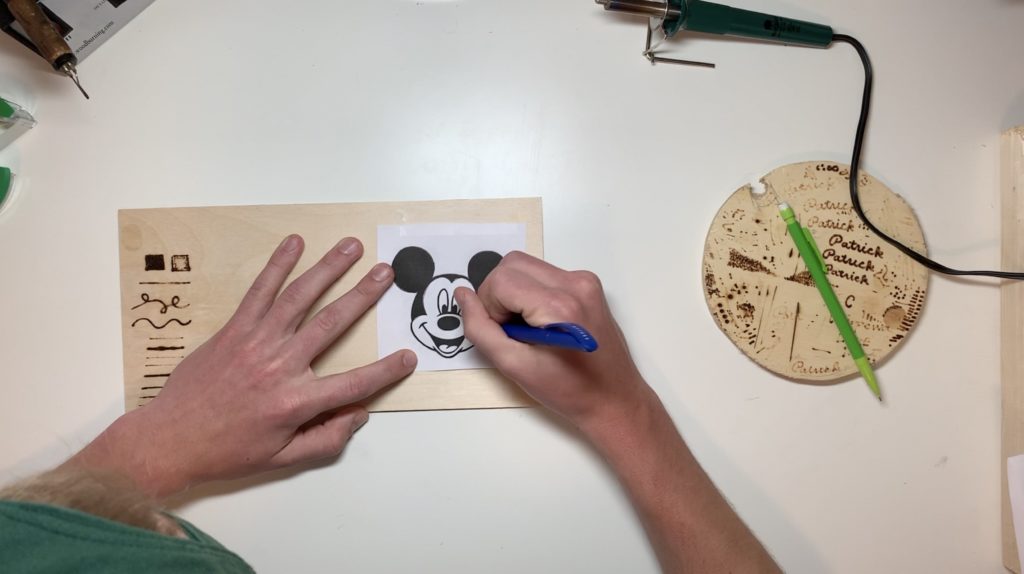
With the back of the image covered with your graphite layer, flip the image so it is facing upward. Place the picture onto the wood in the spot where you’d like to wood burn it and put a strip of tape across the top to hold it in place.
Use your pencil or a pen to trace over the picture. This will transfer the graphite on the image’s back on to your piece of wood. Lift the picture every once in a while to make sure your transfer is working. The tape at the top will keep the image in place.
Step 4: Get familiar with your wood burner
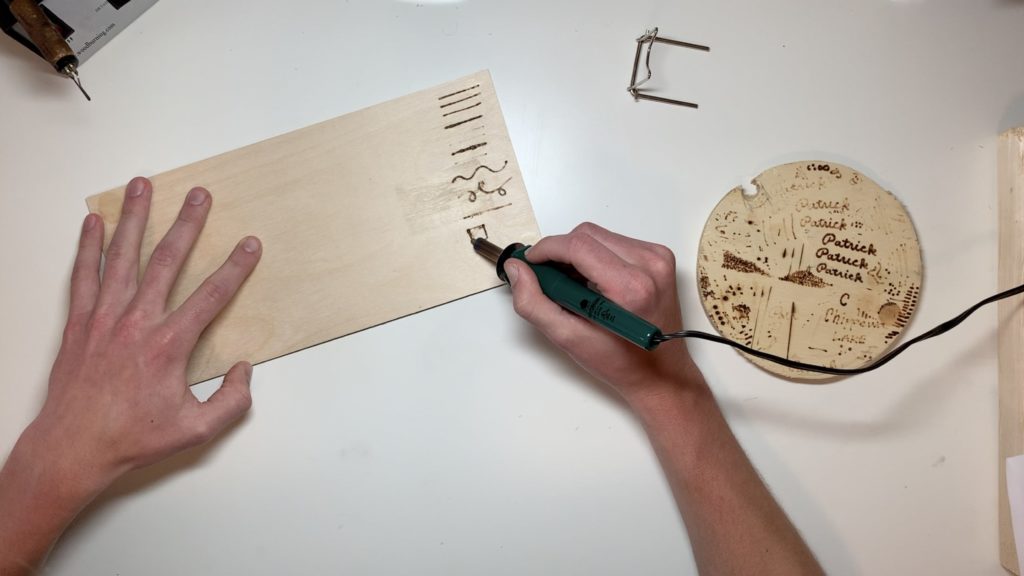
Before firing up your wood burner, spend a few minutes getting familiar with the tool.
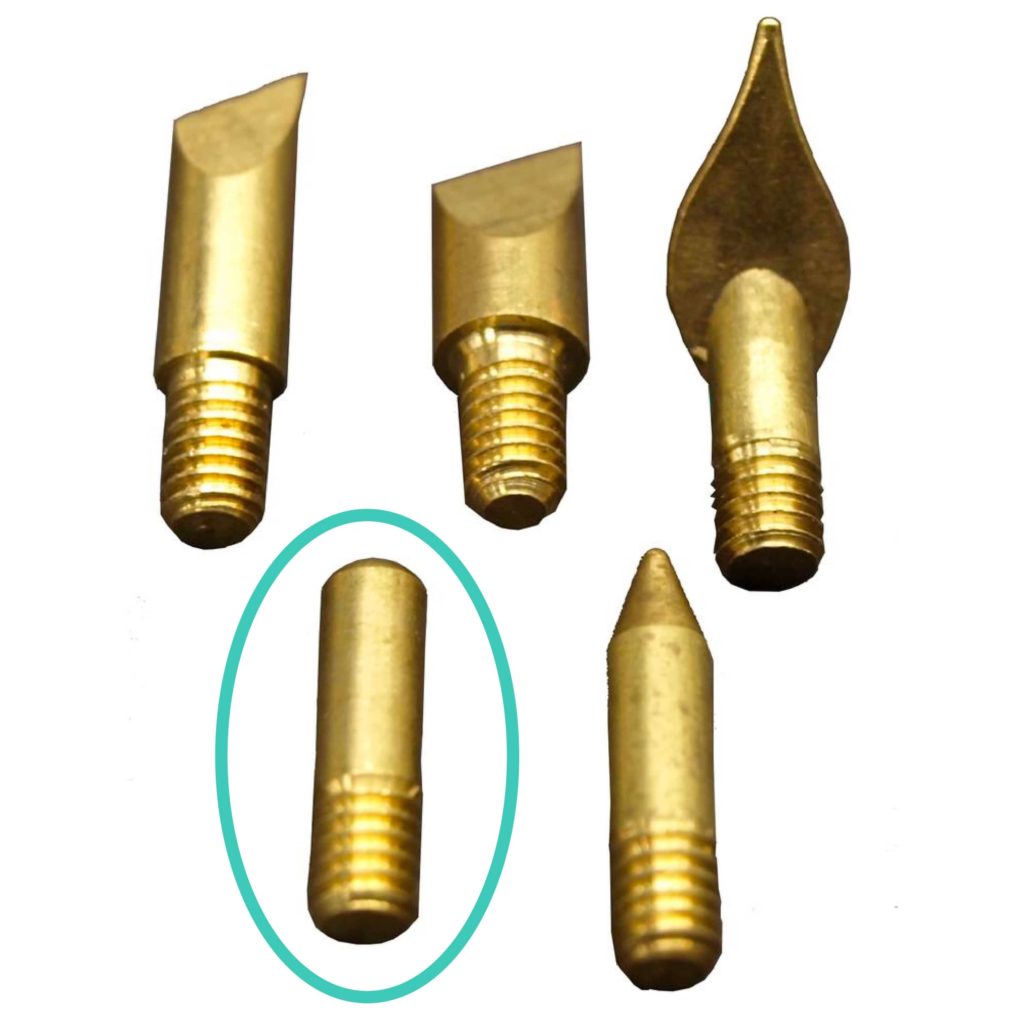
With Walnut Hallow’s Introductory Wood Burner, I like to use the tip with the rounded end because it’s easiest to use for both straight and curved lines. I also like shading large areas with it.
Grab a scrab piece of wood or simply turn your piece with the image on it over. Plug in your wood burner, let it sit for a few minutes to get hot, and start practicing. Draw stright lines, squiggly lines, and shade in boxes to get used to the tool. Vary your speed and your pressure. The slower you move the wood burner, the darker and cleaner your burn will be.
If you’d like to experiment with different tips, be sure to let the tool cool down for 5 minutes before changing the tip. If you don’t wait for the wood burner to cool down before changing tips, you run the risk of ruining your wood burner (I’ve done this in the past, and it’s a total bummer).
Step 5: Wood burn the outline
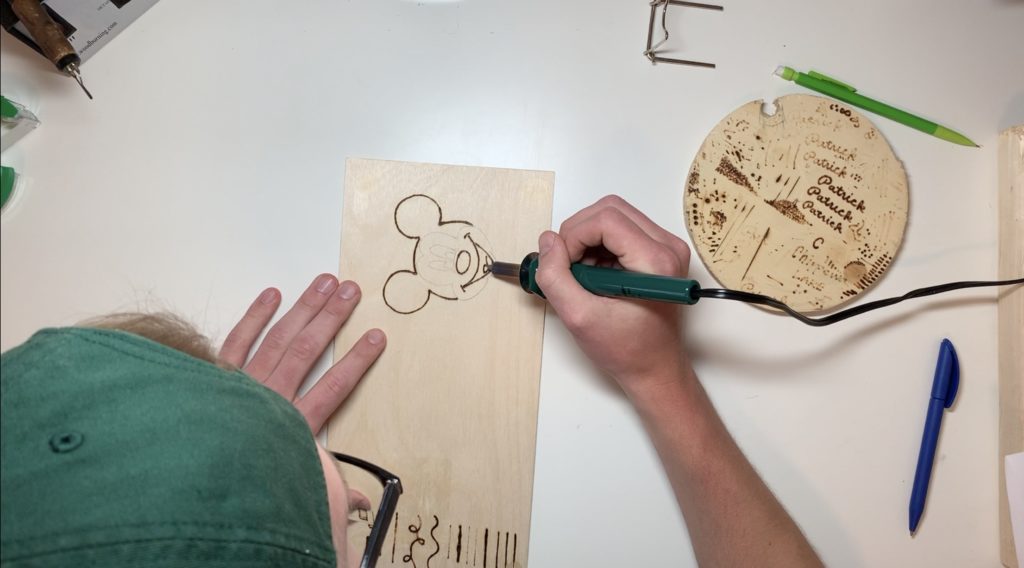
It’s time to start wood burning your picture!
Turn your wood burner on and let it heat up for a few minutes. To double-check the wood burner’s heat, make a few marks or dots on a scrap piece of wood. When your marks are consistently dark, the wood burner is hot and ready to go.
Using the hot wood burner, follow the lines you transferred onto the wood.
Rotate the wood as needed in order to make the strokes easier for you, especially as you are burning the curved lines. Wood burning with the grain is always much easier than wood burning against it. Slow and steady is the best way to go.

Step 6: Shade in the dark areas
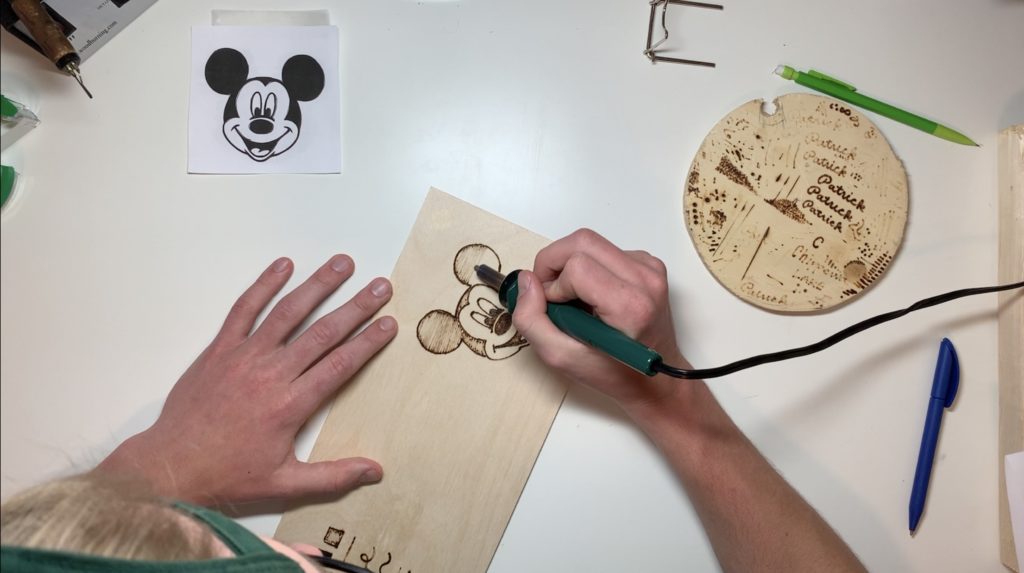
To finish off your piece, all you’ll need to do is shade in the areas that should be dark. To do this, I like to use the rounded tip and make back and forth motions, just like shading with a pencil.
Feel free to also try swapping out the rounded tip for the shading tip or try different wood burning techniques, like cross-hatching or dotting.
Step 7: Enjoy your finished piece and keep burning!
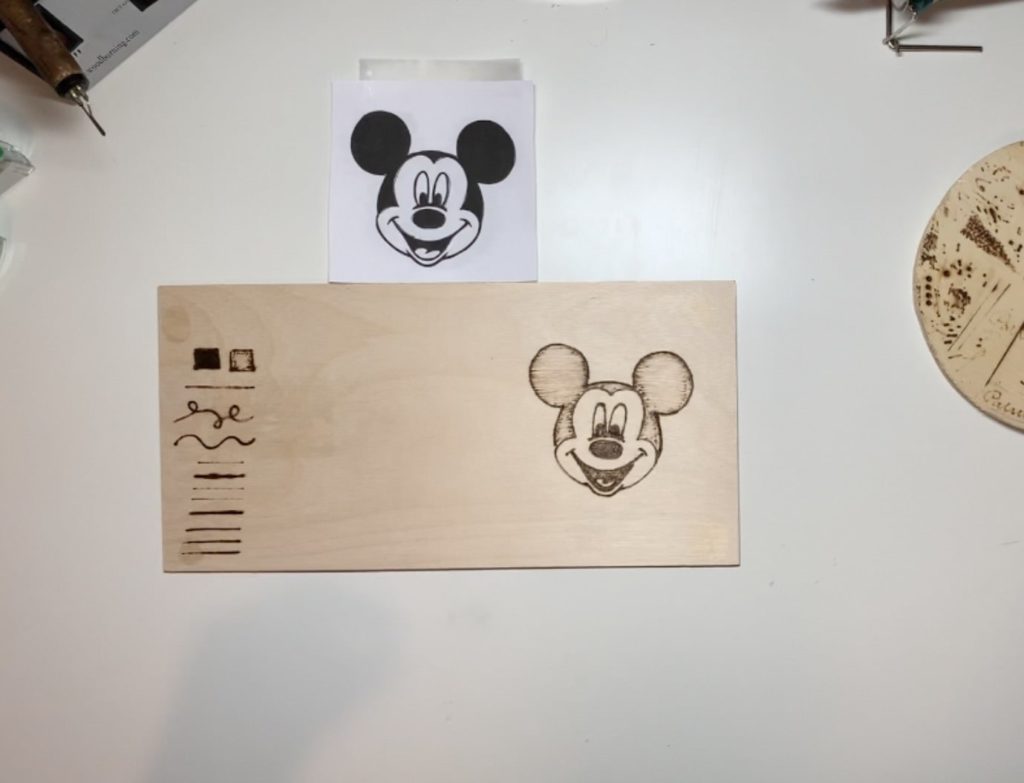
Yes, it’s that easy!
The beautiful thing about wood burning is that the only limit is your creativity. After finishing your first project, I’d encourage you to try another easy image or take it up a notch! If you need some inspiration, check out the other guides on our site!
Patrick
Latest posts by Patrick (see all)
- 5 Steps to Wood Burn the Perfect Wedding Gift - July 27, 2019
- The Beginner’s Guide to Wood Burning - April 15, 2019